How to Easily Configure WP-HR Manager
After you have successfully installed the plugin, you will find a setup wizard that helps you to configure WP-HR Manager. It lets you manage all the important settings from a single place and takes only minutes to finish.
Below is a quick video showing how to use the wizard.
Step by Step Tutorial to Configure Setup Wizard
The set up wizard will appear automatically following the first installation of the WP-HR Manager plugin.
Please read the instructions on the set up wizard start screen.
Then hit the ‘Let’s Go!’ button and the set up process will start. You can always skip the process by clicking on the ‘Not right now’ button.

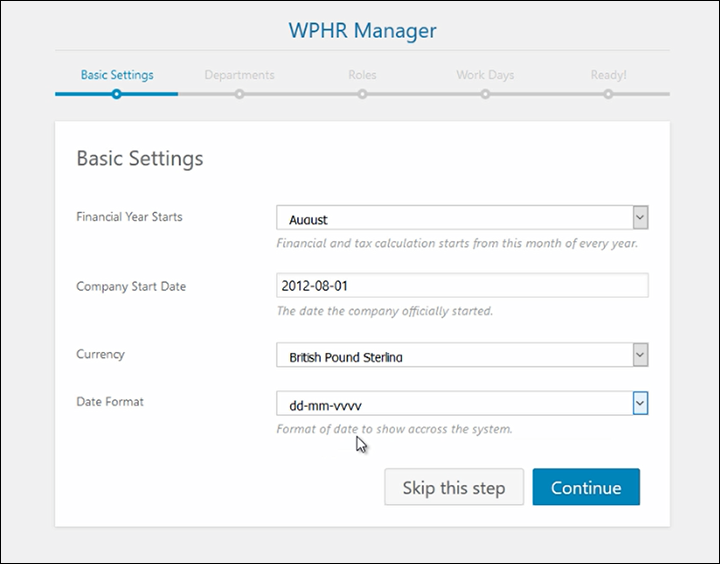
Basic Settings
This section covers the basic settings. From here you can specify the following information-
- Financial Year: The month which will be used to start your financial year.
- Company Start Date: The date your organisation was officially established.
- Currency: You can specify any currency you want from the available list.
- Date Format: The format of date you prefer.
After you have entered these details, click on the ‘Continue’ button.
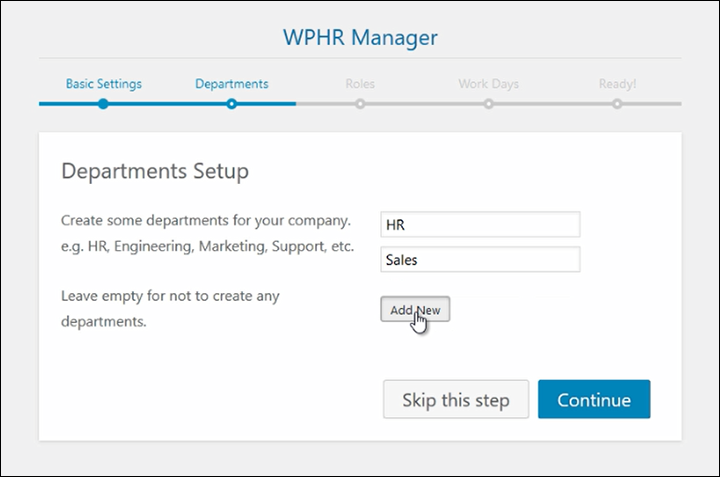
Create your Departments
From this section, you can create some departments for your company. Just type your department names on the ‘Department name’ input box. You can also add more fields by clicking on the Add New button.
When you are done with creating departments, hit the Continue button. Remember, you can still create departments later from HR module.
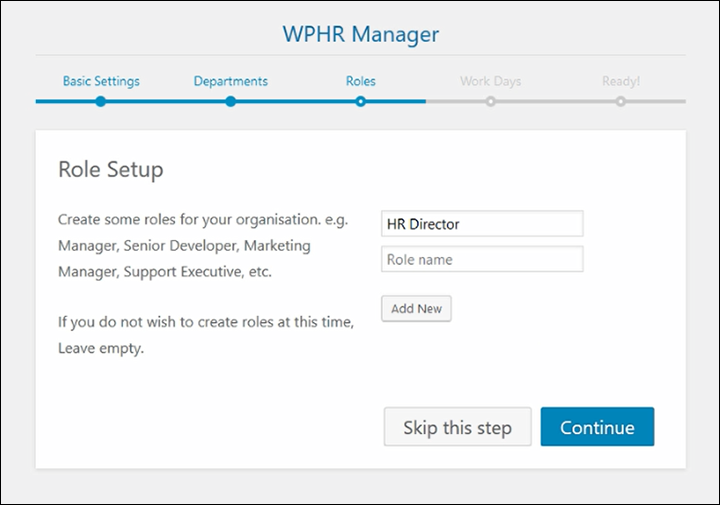
Create Roles
You can set up individual job titles here if you prefer, but we recommend using broader categories or job types, becasue ‘Roles’ are used later to help build reports and to batch together similar types of employee. So for example, if you have several people who are all HR managers, we recommend entering a general terms like ‘HR Manager’ rather then person specific titles like ‘HR Manager, Retail Division North’.
You can add more fields by clicking on the ‘Add New’ button.
Click on the ‘Continue’ button when you are done. You can skip this step if you want and add ‘Roles’ later from WPHR Manager module.
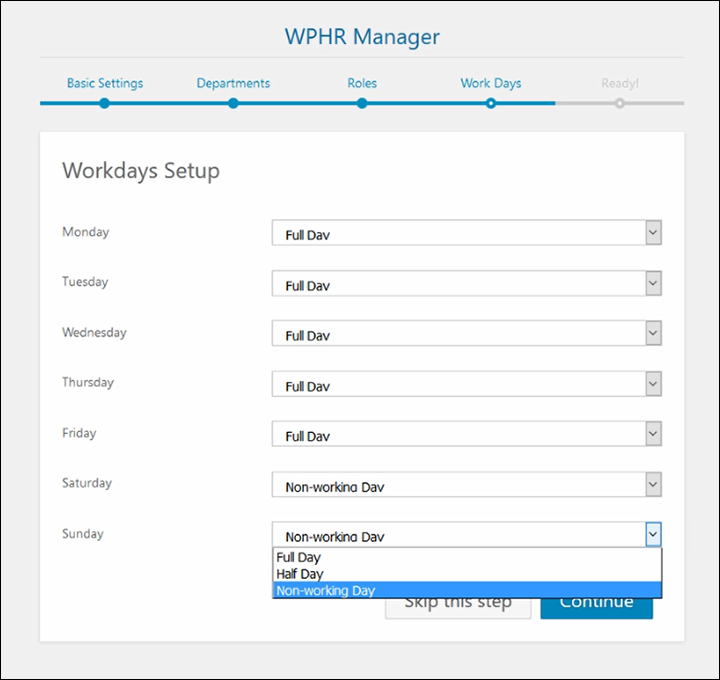
Work Days
You can also setup workdays of your company. Simply specify which days are full, half or non-workdays using the drop down options.
Click ‘Continue’ when you are finished.
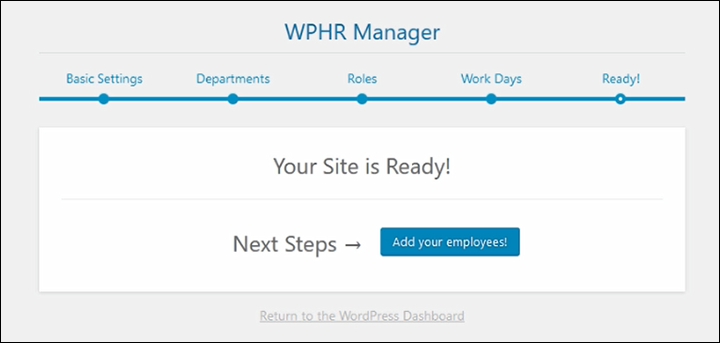
Finalising the Configuration Process
Well done! You have completed the basic setup of your organisation.
Next you should add employees. To do this, click the ‘Add your employees!’ button and you will be taken to the WPHR Manager → Add Employees screen in the dashboard.