
Navigate to WPHR Manager → Settings → Emails → General
In this section you can configure the pre-defined email templates and some options for all emails such as the ‘From Name’, ‘From Address’ a Header Image and Footer Text.
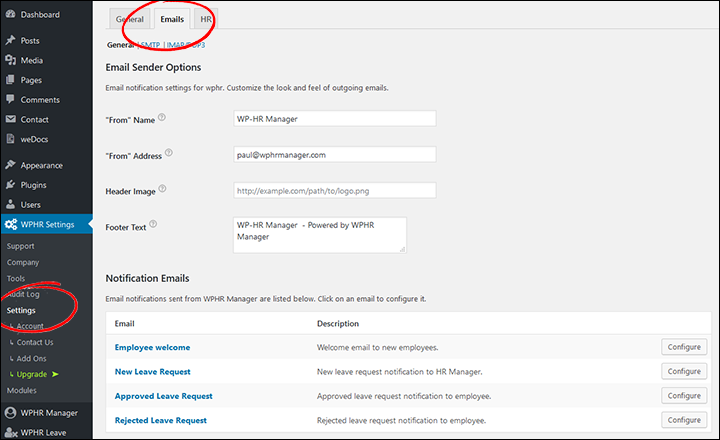
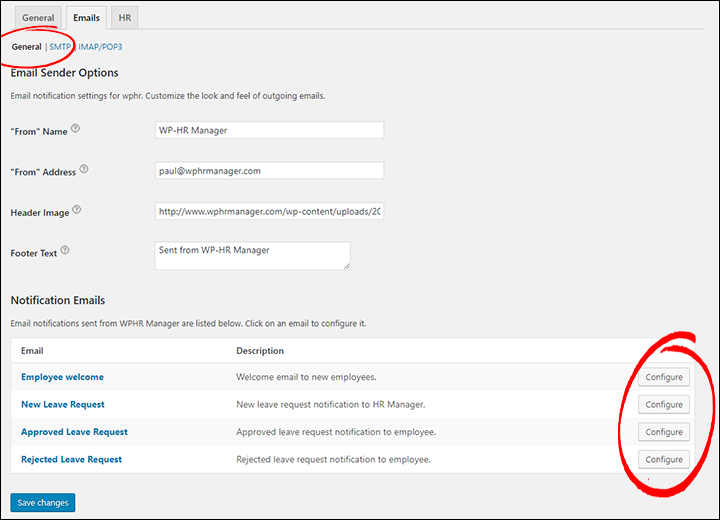
Configure email templates
There are four templates for sending email notifications to users. These are triggered by specific actions in WP-HR Manager such as adding a new employee.
To make change to any template, please click on the Configure button to the right of the template.
You may use template tags to ‘mailmerge’ values from the employee’s record into the email subject, heading and body copy.
Tags available are: {full_name}, {first_name}, {last_name}, {job_title}, {dept_title}, {status}, {type}, {joined_date}, {reporting_to}, {company_name}, {company_address}, {company_phone}, {company_website}, {login_info}
Save changes.
SMTP – Out Bound Email
SMTP is a method of sending emails that generally works more effectively than the default WordPress PHP email system. You may already be using SMTP, but if not, and you want to add more reliable email sending, then WP-HR Manager comes with the tools to add SMTP. However, you will need to obtain settings from your email provider or from an SMTP host.
To configure settings for outgoing mails using WP-HR Manager navigate to WPHR Manager → Settings → Emails → SMTP
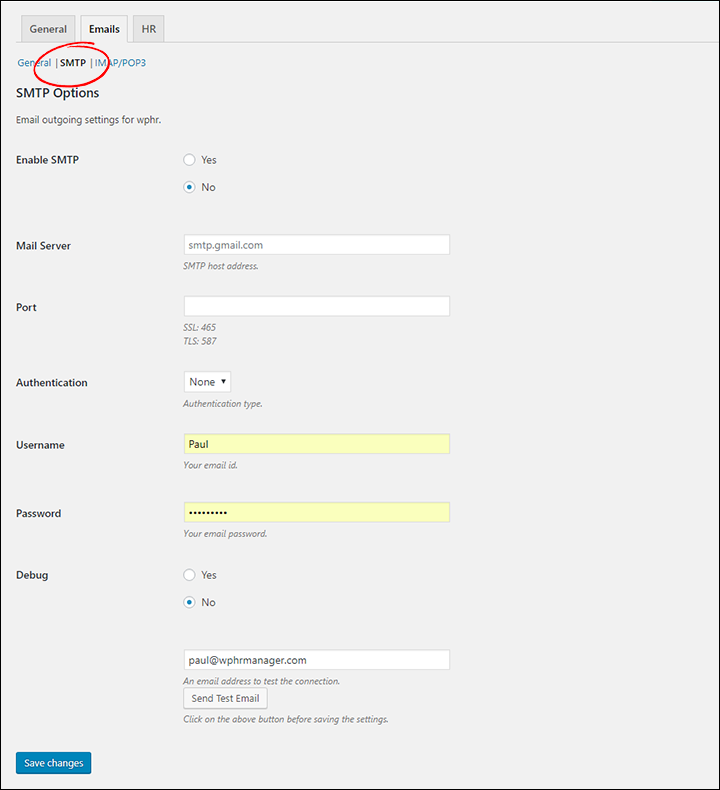
Enable / Disable: If disabled, the default WordPress mailing system will be used.
Mail server: Use the server address provided by your email service provider.
Port: The port number can also be found in the email service providers settings.
Authentication: Your provider will generally recommend their preferred type – ‘SSL’ or ‘TLS’.
Username & Password: Again, these will be those from your email/SMTP provider.
Debug: This is for developer or power users.
And at the bottom, you can send an mail to yourself or to a test account to check if everything is working.
IMAP/POP3 – Inbound Email
These settings handle all the incoming mails for you. Learn more about IMAP and POP3 here.

Status: The status window shows if your incoming mail server is active or working.
Enable / Disable: If disabled, you will receive no inbound emails.
Cron schedule: How often your system will check for inbound emails.
Mail server and Port: Your mail service provider’s server address and port number.
Username and Password: Your mail credentials which will be used to authenticate your account.
Authentication: The type of authentication you will be using. If you do not match this and all the other details right, it will not work.
Read this documentation to learn more about SMTP and IMAP/POP3.